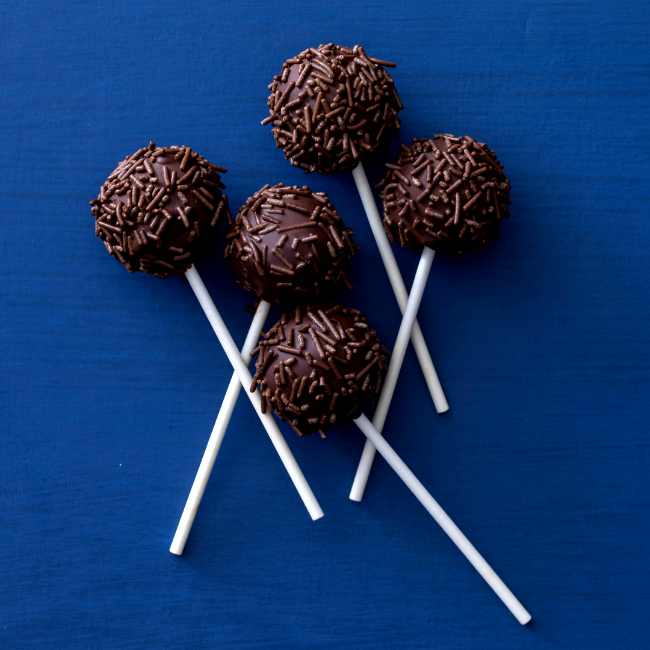
Sunday Night® Chocolate Cake Pops

Friends don’t let friends use canned frosting. Cake pops made with the finest pure ingredients in our chocolate sauce are on a whole new level. We prefer ours dipped in real chocolate, and we give you easy-to-follow instructions. (If you want to use candy coating melts, we offer those tips as well). We love you either way.
Category
Dessert
Servings
18 pops
Prep Time
1 hour
Cook Time
1 hour
Author:
Eileen Gannon

Ingredients
1 baked single-layer chocolate cake (8- or 9-inch round)*
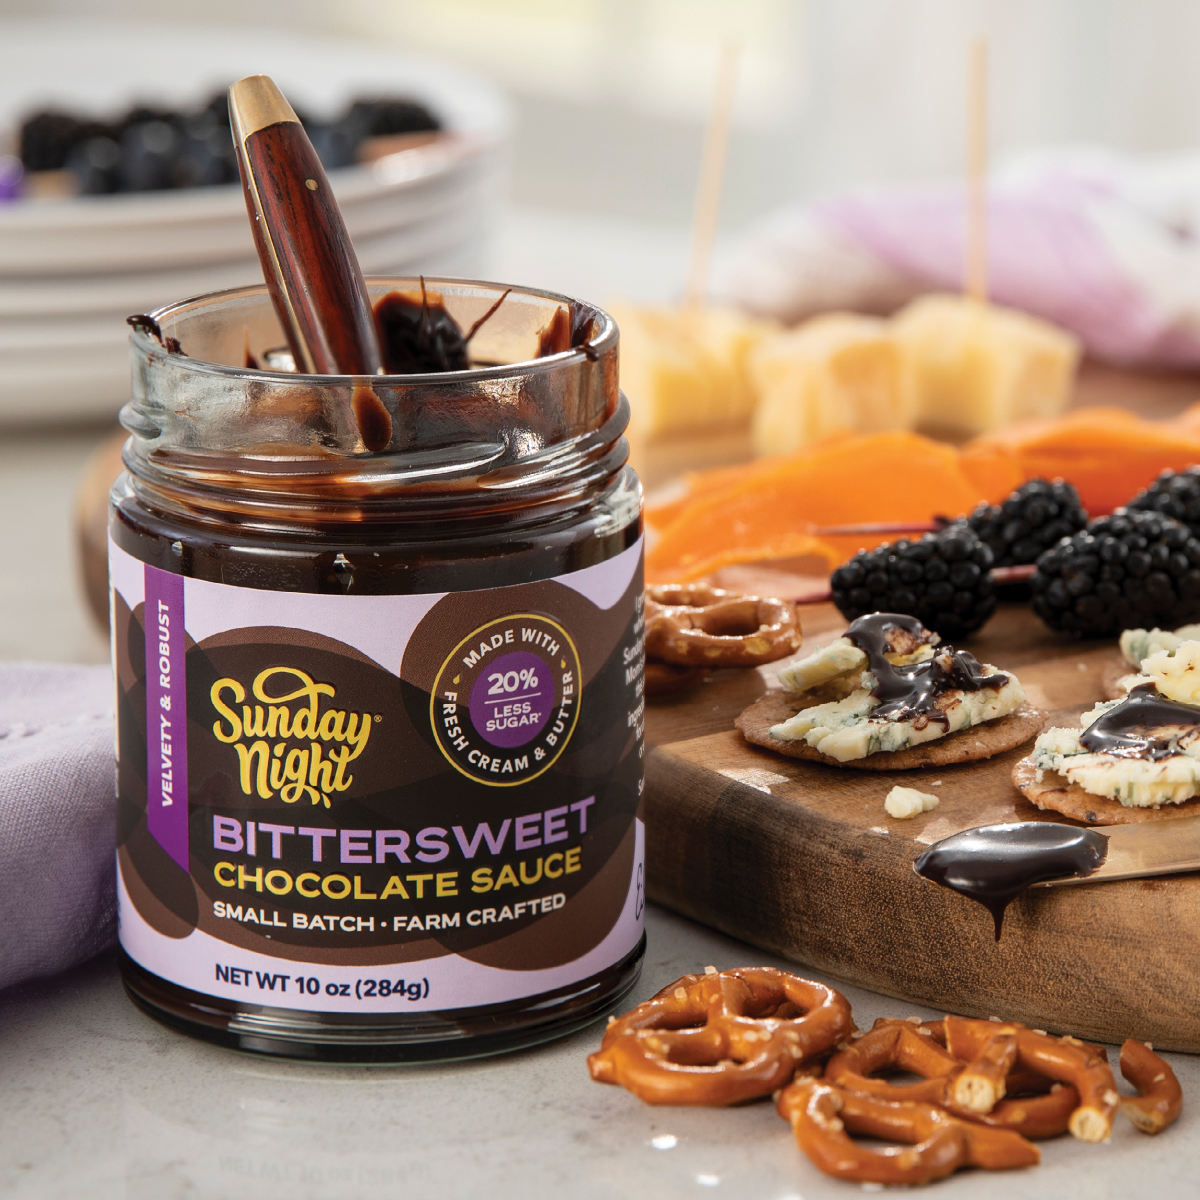
1 jar (10 ounces/284 grams) Sunday Night® Chocolate Sauce, any variety, room temperature, divided
18 ounces (510 grams) semi-sweet or milk chocolate,** chopped into small pieces
1 teaspoon vegetable oil***
Assorted toppings such as candy sprinkles, crushed cookies or pretzels, finely chopped nuts or hard candy, soft caramel and melted candy coating (for drizzling)
Cake ball stand (made with a cardboard box cut with tiny holes or thick piece of Styrofoam)
Directions
Tear cake into small pieces and place in a large bowl. This is rather satisfying. Stir in ¾ cup of Sunday Night Chocolate Sauce, mixing until thoroughly combined. Because the moisture in each cake varies, add as much of the remaining sauce in the jar as needed to obtain desired consistency (mixture needs to be wet enough to hold a firm cake-ball shape but not too wet that it’s gloppy). Use your own definition of gloppy.
Line a baking sheet with parchment paper or foil. Using a small ice cream scoop or a tablespoon, scoop a rounded portion of the cake mixture and roll it with your hands into a firm ball, about 1¾ inches in diameter. Place on the prepared baking sheet and repeat with remaining cake mixture.
Place about 1 ounce chopped chocolate in a small glass bowl and heat in the microwave oven on high for 20 seconds. Stir the chocolate and continue to heat for 20 seconds until completely melted.
Working quickly, dip a cake pop stick into melted chocolate, covering one end and about ¼ inch up the side and insert it halfway into a cake-pop ball. Repeat with remaining sticks and balls. Freeze cake pops (sticks facing up) on the prepared baking sheet, uncovered, for 30 minutes.
Meanwhile, melt the remaining chopped chocolate using the following tempering method (or see below for an easy microwave method**). (“Tempering” means to gently melt and cool chocolate so that it results in a shiny covering with a crisp snap.) Stay with us here. It’s actually worth it. Start by bringing a saucepan of water to a simmer over medium heat. Once it simmers, turn off the heat. Place two-thirds of the chocolate into a heat-proof bowl and set it over the pot of water (most of the bowl should touch the water).
Let the chocolate stand (don’t touch or stir) until it's more than halfway melted. Stir to finish melting. Remove the bowl from the pot of water and place on a dry kitchen towel on your counter. Be very careful not to get any water in the chocolate (water causes chocolate to seize, which is not good). Turn off heat but leave the pan with water in place on the stove.
Add the remaining one-third of the chocolate to the melted chocolate and stir until completely melted. Stir in vegetable oil (this makes it easier to dip.) Pour out some of the hot water in the pan so the bottom of the bowl will no longer touch the water. Set bowl of chocolate over the hot water (with the heat off). This will keep the chocolate warm enough to remain at a smooth dipping consistency.
Place dry toppings in small bowls, and soft caramel and melted coating in separate disposable piping bags with the tip snipped off or in clean quart-size storage bags with a corner snipped. Taking three cake pops from the freezer at a time, dip one pop completely in the melted chocolate until the ball and base of the stick are covered. Tap gently and swirl to let excess chocolate run off. Working quickly, dip top of cake ball into desired topping and/or drizzle with caramel or melted coating. Then place stick into the cake ball stand. Repeat with remaining cake balls and melted chocolate. Let chocolate dry and set completely. Store in the refrigerator for up to 5 days.
Tips From Eileen
*For the cake itself, bake a chocolate cake mix or homemade cake recipe that makes two 8- or 9-inch rounds according to package or recipe directions. Cool completely on a wire rack. Wrap one layer in plastic wrap or place in a freezer bag and freeze for up to 3 months to use for a second batch of cake pops or another purpose. Or make our Sunday Night® Chocolate Babycakes recipe, but bake it in one 8- or 9-inch round pan.
**To temper chocolate using the microwave, place three-quarters of the chocolate in a small glass bowl and heat in a microwave oven on high for 20 seconds. Stir the chocolate. Continue heating, 20 seconds at a time, and stirring until the chocolate is smooth and shiny. Add the remaining quarter of chocolate and stir until smooth. Stir in vegetable oil, which helps keep the chocolate at a smooth consistency while dipping cake pops. It’s easiest to keep the chocolate in a bowl over a pan of warm water with the heat off (make sure the bottom of the bowl does not touch the warm water).
While I prefer the flavor of pure chocolate, candy coating can be easier to work with. Candy coating wafers, also called “melts”, can be found in the cake decorating section of craft stores or grocery stores in assorted colors and flavors. If you’re using candy coating/melts, place wafers in a 2-cup glass measure. Heat in the microwave oven on 50% power for 30 seconds; stir. Repeat until candy coating is completely melted. When dipping cake pops, if candy coating starts to stiffen, reheat in the microwave oven as directed to return to a smooth dipping consistency. Continue with dipping and decorating instructions above.
If you prefer to use coconut oil instead of vegetable oil, know that the coconut oil can impart a coconut flavor to your chocolate. I think this recipe is best with neutral vegetable oil.
To gift, wrap each cake pop in a clear treat bag or square of plastic wrap and tie with a ribbon.
© 2026, Sunday Night Foods, All Rights Reserved.


